Imagine you want to build a statue using LEGO blocks. You’d need to figure out how many layers of bricks to stack, where each piece should go, and in what order. That’s exactly what slicing software does — but for a 3D printer.
🧩 What’s an STL File?
- An STL file is the 3D model you want to print.
- Think of it like a digital sculpture — a file that contains the shape of the object.
But your 3D printer can’t understand an STL file directly. It needs instructions — like a recipe.
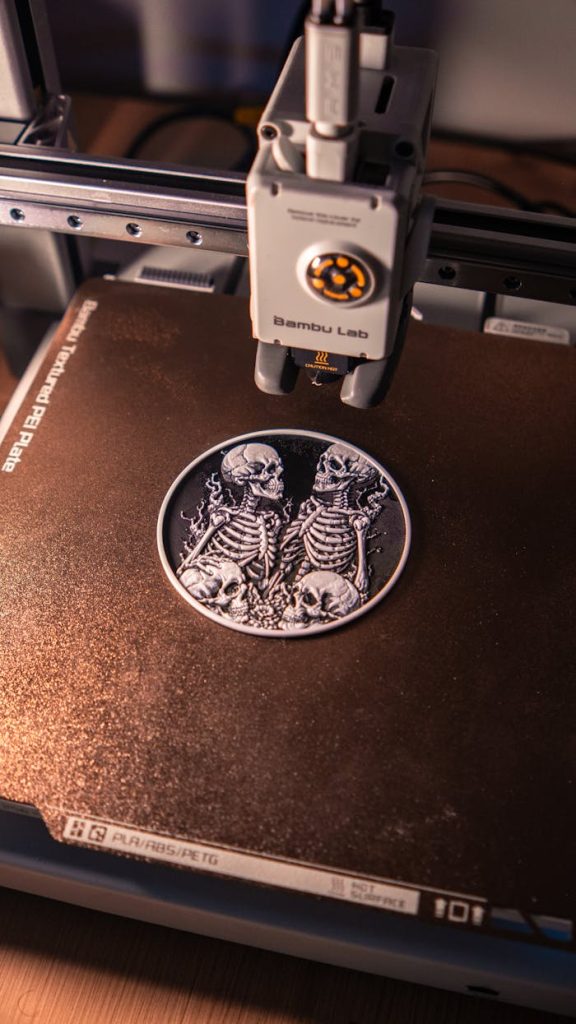
🔪 Enter the Slicer: Bambu Studio
Bambu Studio is slicing software. It takes your STL file and does three key things:
1. Slices the Model into Layers
- The printer works layer by layer.
- The slicer cuts the model into hundreds (sometimes thousands) of flat layers, like slices of bread.
2. Generates G-code
- G-code is the language your printer understands.
- It tells the printer:
- Where to move
- How fast to go
- How much plastic (filament) to use
- When to change speeds or temperatures
3. Lets You Customize Settings
You can choose:
- Quality (fine detail vs fast print)
- Material type (like PLA, PETG, or ABS)
- Supports (temporary structures to help print overhangs)
- Infill (how solid the inside is — from hollow to 100%)
🖥️ Step-by-Step: Slicing in Bambu Studio
✅ Step 1: Open Bambu Studio
Launch the slicer on your computer.
📂 Step 2: Import the STL
Drag your STL file into the workspace or click “Open File.”
🧱 Step 3: Choose Your Printer & Filament
Select your printer model (e.g., Bambu X1 Carbon) and what material you’re using (e.g., PLA).
🎯 Step 4: Pick Print Settings
Use a preset like:
- “Standard” (good quality, average speed)
- Or customize: layer height, supports, infill, etc.
🧠 Step 5: Slice the Model
Click the “Slice” button. Bambu Studio will now:
- Cut the model into printable layers
- Create the G-code instructions
👀 Step 6: Preview the Print
You can watch a simulation of how the printer will build the object, layer by layer.
💾 Step 7: Save or Send to Printer
- Save the G-code to an SD card or send it wirelessly to your printer (if supported).
- Then, you’re ready to print!
🎉 Final Analogy:
Think of slicing like cooking:
Printer = the oven that follows your instructions perfectly
STL = the cake you want to bake
Slicer = your recipe book and instructions